|
It’s safe to say that most of us, if not all, have probably had some experience with a button coming loose on a garment. Not only can it be embarrassing if it happens in front of others but it can also shorten the useful life of a garment. You could, of course, take the garment into a tailor to have the button reattached but a simple and cost-effective solution is just learning how to reattach a button yourself. What You Will Need…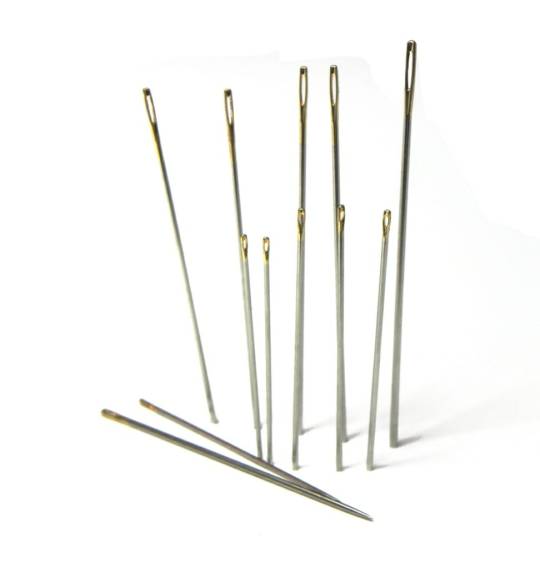
Sewing NeedleOf course, a sewing needle is going to be your main tool. Any type of basic needle will do but generally, the slimmer the needle you have, the better for this application. 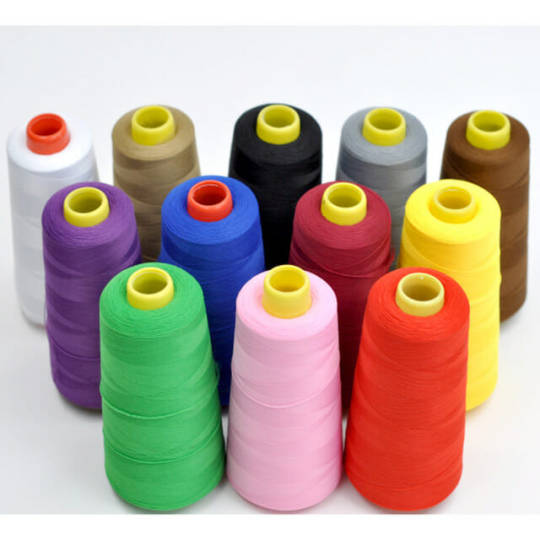
ThreadIn terms of thread, having about nine to twelve inches will be enough for most situations, however, if you want to double your thread over to make it stronger, doubling the amount of thread would also be necessary. Therefore, you’ll probably want about eighteen to twenty-four inches of thread in total. Ideally, you’re going to want to have a thread that matches the thread used on the garment but if you don’t have something in exactly the same color, it’s typically safe to just use a light colored thread for light garments and dark colored thread for dark ones. 
ButtonMost button-up shirts will have spare buttons on the inside of the bottom front of the shirt’s placket. Most jackets and outerwear will come with some spare buttons typically in a small plastic bag inside one of the pockets and many pairs of trousers will often have a spare button on the inside of the waistband. As another note, there are buttons with differing amounts of holes. The standard button will have four holes but you’ll also occasionally see buttons with two holes or even less commonly some other amount. The main methods we will be illustrating today concern four-holed buttons but they could apply to buttons with different amounts of holes as well. There are also certain types of buttons that have no holes whatsoever, these are referred to as shank buttons and they require a slightly different method of sewing. 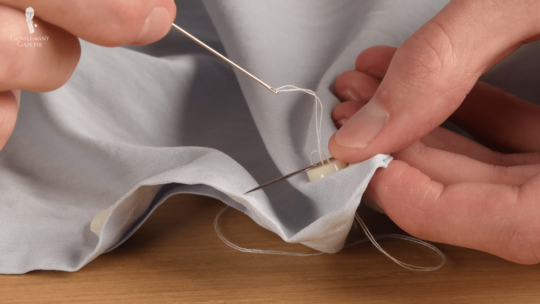
SpacerYou’re also going to want a small implement called a spacer to be placed on top of the button while sewing, this will leave a little bit of extra room between the button itself and the fabric. For your spacer, you could use another sewing needle, a matchstick, or any similarly sized tool. Some sewing kits will also come with a small metal rod that has two blunt ends, you can use this one without having to worry about poking yourself as you would if you were using a second needle. 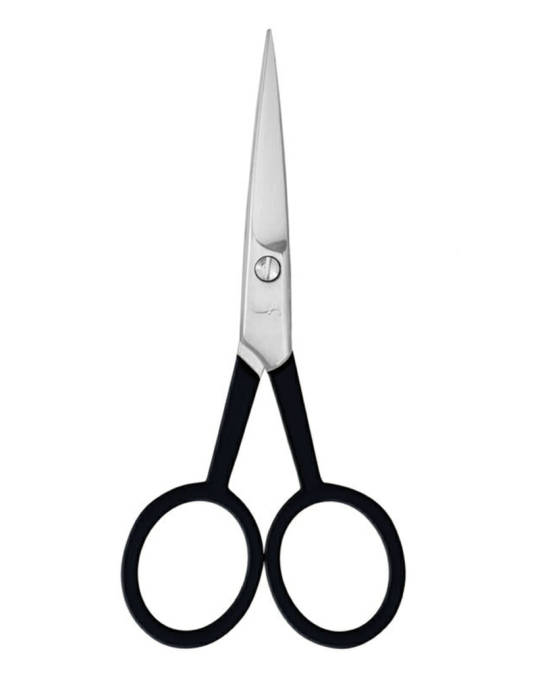
Cutting ToolYou’re also going to need a cutting tool, this could be a pair of scissors, a pocketknife, a seam ripper, or any other sharp-edged object. 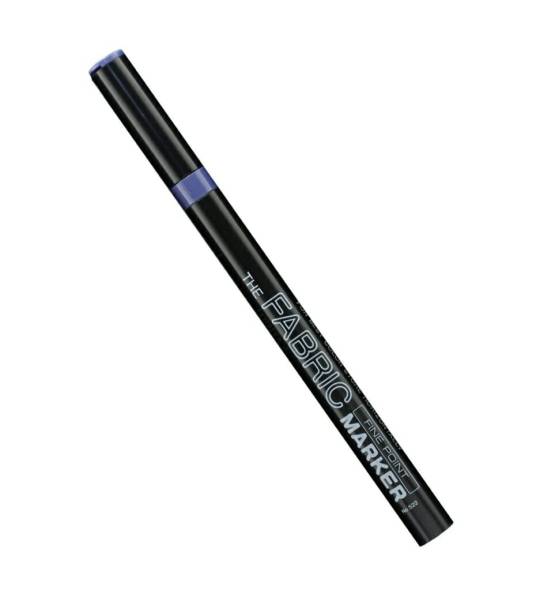
Fabric PencilA water-soluble marking pen, fabric pencil, or tailor’s chalk can also be helpful if you want to make a small mark on the fabric of your garment where the button is going to be located. 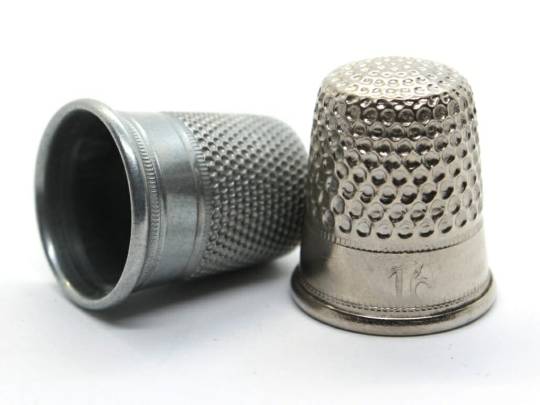
ThimbleAn optional tool here is a thimble. If you’ve ever wondered what that monopoly piece is actually for, when you’re working with thick fabric, it can sometimes be a little painful to actually push the needle all the way through. As such, you can wear a thimble on the thumb or finger that primarily does the pushing. How To Sew On A Button Effectively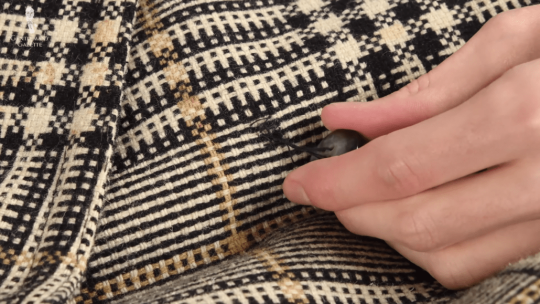
Remove The Loose Button From The ShirtIf your button is loose but still hanging on, you should use your cutting tool to take away the thread that’s still keeping the button on the shirt. A seam ripper will work best for this but you can also use a different type of cutting tool, just make sure that you’re not damaging the fabric of the shirt itself. Next, just use your cutting tool or your fingers to remove any excess old thread that still happens to be hanging on to either the button or the garment. 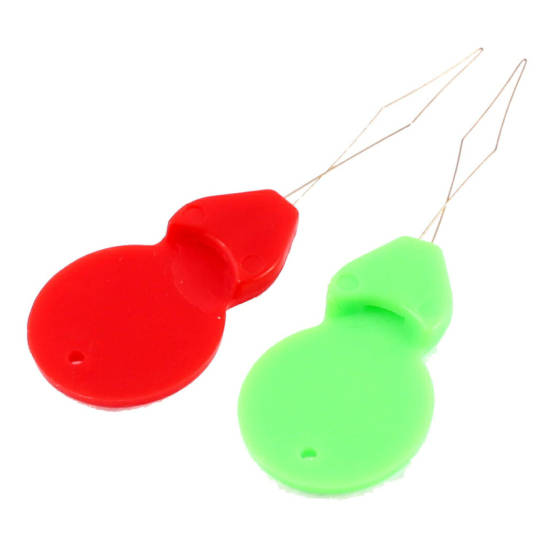
Thread Your Needle & Knot The End Of The ThreadAnother optional tool you might want to have handy is a little implement called a needle threader, these will come in some sewing kits and they make the process of threading a needle much easier. If you’re just working with single thread, just pass the thread through the needle and tie a couple of simple overhand knots to make sure things are secure. If you have doubled your thread over, you can create a knot by wrapping the thread around your forefinger several times, roll the loops that are created into a tight bundle with your thumb, then slip that bundle off of your finger. You can grip the bundled loops with one hand and tug the long end of the thread tight with the other hand, this should pull the loose bundle into a tight knot that you can work with. 
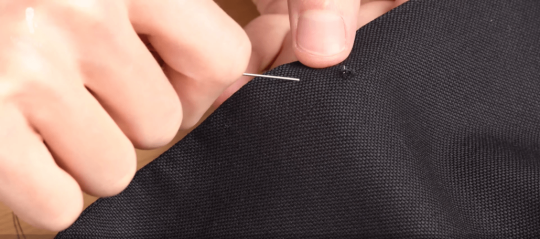
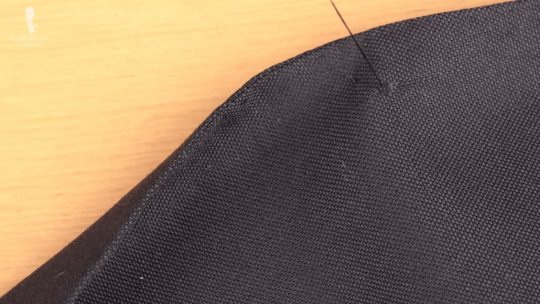
Create Your Anchor PointThis is the time to make a small mark on your fabric where the button will be located if you so choose but this is optional. To create your anchor, start by looking at the back side of the fabric, run the needle through from the back side to the front then move a short distance, the distance between holes on your button and run the thread back through from the front side to the back side. Repeat this process one more time perpendicular to the first small line of thread you created on the garment. This will create a small X where the button is going to be centered. The X is also the anchor for your thread to make sure that that doesn’t loosen up while you’re sewing. 
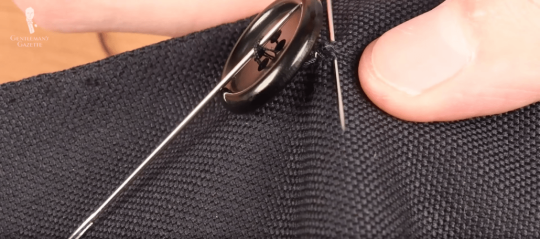
Position The ButtonPut your button on the anchor X point and begin sewing by pushing the needle from the back side through to the front side and through the hole of the button. You can place your spacer on top of the button and put the needle through the opposite hole in the button, back to the backside of the fabric. You can put a finger on the button to make sure that things are secure while you’re making your first few passes. Using the anchoring X on the fabric as a guide, you can alternate between sets of holes or you can do one set and then the other. You can make six passes in total; three for each set of holes on the button. When the button is secured, you can remove the spacer. 
Create The ShankOn your final pass from the backside to the front, come back up through the fabric but don’t go through one of the holes of the button. Turn the needle slightly and bring it out from underneath the button. Wrap your thread tightly around all of the threads beneath the button at least six times in total. You’ve now created a shank which will stand the button away from the fabric, this will make it easier to button your garment since the button won’t be sitting directly and tightly against the fabric. Pull to make sure things are secured here and then put the needle back through from the front side to the back side. 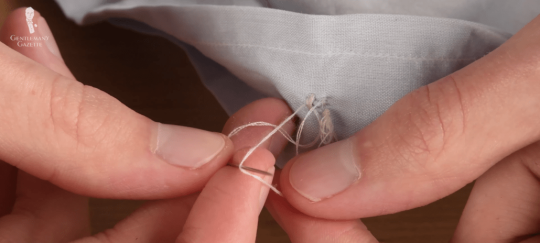
Secure The ThreadWith both ends of your thread on the backside of the fabric, you can use your needle to make a small loop in one part of the thread. You can use the needle to guide the thread through that loop to create a knot or you can snip the thread off of the needle and just tie the knot with your fingers. Either way, it’s key to make sure that your knot is tight. For extra security, you can always add a few more knots just to make sure things aren’t going to come loose. Cut off the excess thread on the back side of the fabric when you’re done and your button is successfully reattached to your shirt. For Overcoats & Jackets:These directions can be used particularly effective on shirts and trousers but jackets and overcoats are going to require some different methods that will work a little bit better. Overcoat buttons can be sewn on in the exact same method as with shirts or trousers but sometimes, you’ll see this done with another smaller button sewn on simultaneously to the main button on the back side of the fabric. Metal buttons can also benefit from having a stay attached on the reverse, as metal buttons can be heavier or made from more valuable materials so you wouldn’t want to lose them. Also, to get metal buttons to stand up as straight as possible, you can use a waxed thread which is going to be a little bit more durable. Metal buttons are quite often shank buttons, we will cover how to sew on a shank button in a moment. Sewing Buttons On A Suit JacketSewing buttons on to a suit can be done in the same way that we’ve just outlined for shirts but it’s often done with a slightly different technique so that there’s no visible knotting on the backside of the fabric.
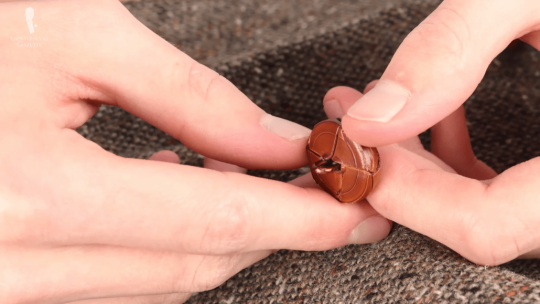
Shank ButtonsAs we said, a shank button differs from a standard button and then it doesn’t feature any buttonholes.
Armed with these simple sewing techniques, you should be able to attach or reattach buttons to your garments and prolong their usable life. What’s more, you won’t have to depend on a tailor in order to have this done. Are there tips with any of these methods that you think we missed today? Do you prefer a different sewing method altogether that we didn’t mention? If so, share with us in the comments below. How To Sew On A Button published first on https://medium.com/@CostumeCorner via Tumblr How To Sew On A Button
0 Comments
Leave a Reply. |
FashionPassion
I lived my life in Europe and now a global citizen in fashion. I have attended the American University in Texas and hold master degree in Media & Communications. I have also spent 4 years of formal training in clothing and fashion. I love travelling around the world and being in different artistic environments has helped me discover more and more about my passions which is fashion. Personal Links |
 RSS Feed
